Key Takeaways
- Open source contributions go beyond just code; they include documentation, bug reports, testing, and community support.
- Finding the right project involves checking activity, responsiveness, and clear contribution guidelines (like a
CONTRIBUTING.md file).
- The core Git workflow for contributing involves forking, cloning, setting an upstream remote, creating a branch, making changes, committing, pushing, and opening a Pull Request.
- Contributing to open source enhances your skills, builds your professional network, and strengthens your developer portfolio.
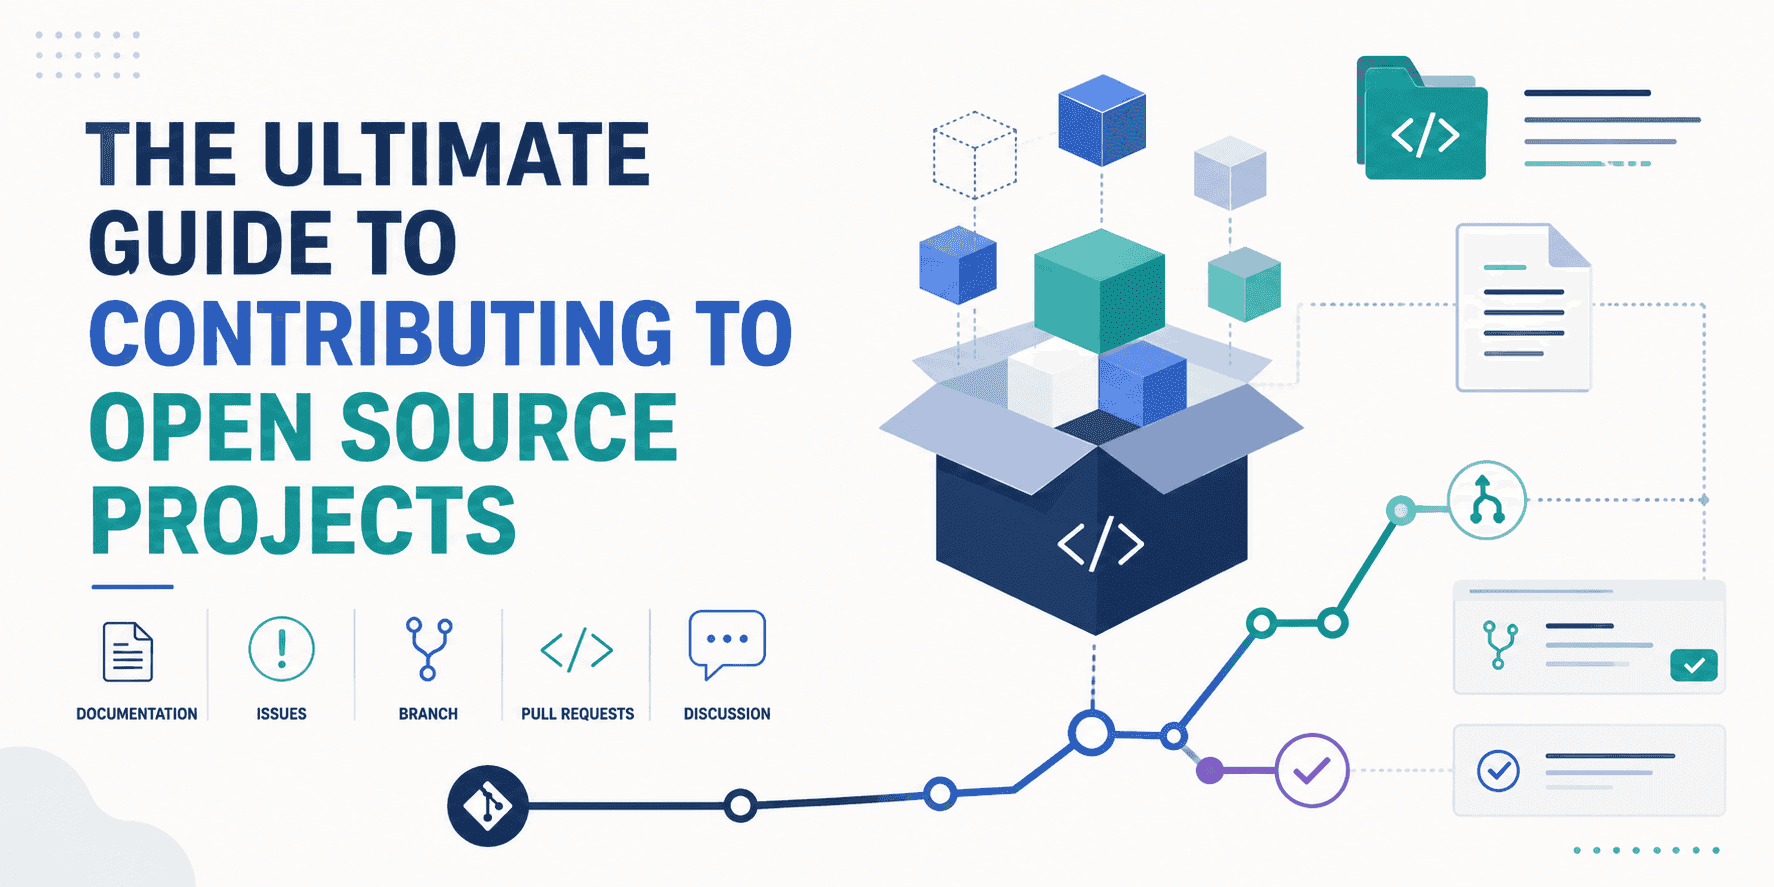
The Ultimate Guide to Contributing to Open Source Projects
Ever wondered how some of the most impactful software in the world gets built? Often, it's through the power of open source. From the operating systems that run our servers to the AI frameworks driving innovation, open source projects are everywhere. Contributing to these projects isn't just for seasoned developers; it's a fantastic way for anyone to learn, grow, and make a real impact. This guide will walk you through everything you need to know, from understanding what contributions mean to the exact Git steps involved.
For developers and tech enthusiasts, especially those interested in Artificial Intelligence, contributing to open source can be a game-changer. It's a prime way to gain practical experience with production-grade code, collaborate with experts, and build a portfolio that truly stands out. Many cutting-edge AI tools and libraries, such as TensorFlow, PyTorch, and Hugging Face Transformers, thrive on open-source contributions.
What Does "Contributing" Actually Cover?
When you hear "open source contribution," your first thought might be writing complex code. While coding is a big part of it, the reality is much broader and more welcoming. Open source projects need all sorts of help to thrive. Think of it as a community effort, where every little bit counts. Here are some common ways you can contribute:
- Code Contributions: This is the most obvious one. It could be fixing a bug, adding a new feature, refactoring existing code for better performance or readability, or writing unit tests.
- Documentation: Clear and comprehensive documentation is vital for any project. You can improve existing docs, write new tutorials, translate content, or even fix typos. Many projects explicitly welcome documentation contributions as a great starting point for new contributors.
- Bug Reports: Finding and clearly reporting bugs helps maintainers understand issues and prioritize fixes. A good bug report includes steps to reproduce the bug, expected behavior, and actual behavior.
- Testing: Verifying bug fixes, testing new features, or writing automated tests are all crucial. This ensures the project remains stable and reliable.
- Design: For projects with user interfaces, contributions can involve UI/UX improvements, creating new icons, or designing website layouts.
- Community Support: Answering questions on forums, helping other users on Discord or Slack channels, or reviewing Pull Requests (PRs) from other contributors are all valuable ways to give back.
- Translations: Making a project accessible to a global audience by translating its documentation or interface into different languages.
As you can see, there's a role for almost everyone, regardless of their current skill level. Many projects even label issues as "good first issue" to help newcomers find easy tasks.
Finding Your First Project: Where to Begin
Picking the right project is crucial for a positive first experience. You want a project that aligns with your interests, uses technologies you're familiar with (or want to learn), and, most importantly, has an active and welcoming community. Here’s how to approach it:
1. Identify Your Skills and Interests
What programming languages do you know? Are you passionate about web development, mobile apps, data science, or perhaps Artificial Intelligence? If you're into AI, consider projects like PyTorch, TensorFlow, or Hugging Face Transformers. Knowing your strengths and what you want to learn will help narrow down your choices.
2. Look for Projects You Already Use
The easiest way to start is by contributing to tools or libraries you already rely on. You're already familiar with their functionality, and you might have even encountered a bug or thought of a feature improvement. This familiarity significantly lowers the barrier to entry.
- GitHub Explore: GitHub is the largest platform for open source. The Explore section can help you discover trending repositories and topics.
- "Good First Issue" Labels: Many projects tag beginner-friendly tasks with labels like "good first issue," "beginner," "easy," or "help wanted." You can search for these directly on GitHub. For example, search for "good first issue" on GitHub or check out curated lists like Good First Issue or DeepSourceCorp/good-first-issue.
- First Contributions Project: If you're completely new, the first-contributions project is designed specifically to guide you through your very first pull request.
- Open Source Friday: A GitHub initiative to encourage contributions.
- CodeTriage: This platform sends you open issues from projects you choose, making it easier to find something to work on.
4. Check for Project Activity and Responsiveness
Before committing your time, check a project's pulse:
- Recent Commits: Are there recent code changes? This indicates the project is actively maintained.
- Open Pull Requests: How many open PRs are there, and how quickly are they reviewed and merged? A backlog might suggest maintainers are overwhelmed.
- Issue Activity: Are issues being opened, commented on, and closed regularly? This shows an engaged community.
- Contribution Guidelines: Does the project have a clear
CONTRIBUTING.md file? This is a strong indicator of a well-managed project that welcomes new contributors.
Understanding Project Culture and Guidelines
Once you've found a potential project, take some time to understand its unique culture and rules. This will save you headaches later and ensure your contributions are well-received.
CONTRIBUTING.md: This file is your bible. It typically outlines the project's preferred workflow, coding style, testing procedures, and how to submit a Pull Request. Always read it thoroughly.- Code of Conduct: Most reputable open source projects have a Code of Conduct. This document sets expectations for respectful behavior within the community. Adhering to it is paramount.
- Issue Trackers: Familiarize yourself with how issues are managed (e.g., GitHub Issues, GitLab Issues). Look at existing issues to understand how problems are described and discussed.
- Communication Channels: Many projects use Discord, Slack, Gitter, or mailing lists for real-time communication. Joining these can help you ask questions, get help, and stay updated.
The Git Mechanics: Your Step-by-Step Guide to Contribution
This is where the rubber meets the road. We'll walk through the standard Git workflow for contributing to an open source project on platforms like GitHub or GitLab.
Prerequisites:
- Git installed on your machine.
- A GitHub or GitLab account.
- A terminal or command prompt.
Step 1: Fork the Repository
The first step is to "fork" the original repository. Forking creates a copy of the project under your own GitHub/GitLab account. This allows you to make changes without affecting the original project.
Navigate to the project's GitHub/GitLab page and click the "Fork" button (usually in the top right corner).
Step 2: Clone Your Fork Locally
Now that you have a copy of the repository on your account, you need to download it to your local machine. This is called cloning.
git clone <URL_OF_YOUR_FORK>
You can find the URL of your fork by going to your forked repository on GitHub/GitLab and clicking the "Code" button.
cd <PROJECT_NAME>
Navigate into the cloned directory.
Step 3: Set Upstream Remote
This is a crucial step often missed by beginners. You need to add a "remote" reference to the original repository (the "upstream") so you can pull in any new changes made by other contributors. This keeps your local fork up-to-date.
git remote add upstream <URL_OF_ORIGINAL_REPOSITORY>
You can verify your remotes by typing:
git remote -v
You should see two remotes: origin (pointing to your fork) and upstream (pointing to the original project).
Step 4: Create a New Branch
It's best practice to make your changes on a new branch, rather than directly on the main (or master) branch. This isolates your changes and makes it easier to manage your contributions.
First, ensure your local main branch is up to date with the upstream changes:
git checkout main
git pull upstream main
Now, create your new branch:
git checkout -b <YOUR_FEATURE_BRANCH_NAME>
Choose a descriptive name for your branch, like `fix/bug-description` or `feature/add-new-functionality`.
Step 5: Make Your Changes
Now comes the fun part: making your actual contribution! Write code, improve documentation, fix bugs, or add tests. Use your favorite code editor to modify the files in your local project directory.
Step 6: Test Your Changes
Before moving on, always test your changes thoroughly. Run any existing tests, and if you've added new features or fixed bugs, write new tests to cover your changes. This ensures you haven't introduced any regressions. Many projects will have instructions on how to run tests in their CONTRIBUTING.md file.
Step 7: Commit Your Changes
Once you're happy with your changes and they've passed tests, commit them to your new branch.
First, stage your changes:
git add .
This stages all modified files. You can also specify individual files: git add <FILE_NAME>.
Then, commit with a descriptive message:
git commit -m "feat: Add new feature to XYZ component"
A good commit message is concise, informative, and follows any conventions specified in the project's guidelines.
Step 8: Push Your Branch to Your Fork
Push your local branch with your commits to your remote fork on GitHub/GitLab.
git push origin <YOUR_FEATURE_BRANCH_NAME>
origin refers to your forked repository. If this is your first time pushing this branch, you might need to use git push -u origin <YOUR_FEATURE_BRANCH_NAME>.
Step 9: Open a Pull Request (PR)
After pushing your branch, navigate to your forked repository on GitHub/GitLab. You should see a prompt to "Compare & pull request" or "Open pull request."
- Title: Give your PR a clear and concise title.
- Description: Write a detailed description of your changes. Explain what problem you're solving, how you solved it, any relevant context, and reference any related issues (e.g., "Closes #123").
- Review: Some projects have PR templates; fill them out.
Submit your pull request.
Step 10: Address Feedback and Iterate
Maintainers will review your PR and might request changes or ask questions. This is a normal part of the process and a great learning opportunity.
- Make the requested changes in your local branch.
- Commit the new changes (
git add ., git commit -m "Refactor: Address review comments").
- Push the updated branch to your fork (
git push origin <YOUR_FEATURE_BRANCH_NAME>).
The PR will automatically update with your new commits. If the upstream project has new changes while your PR is open, you might need to rebase your branch to incorporate them:
git checkout <YOUR_FEATURE_BRANCH_NAME>
git pull --rebase upstream main
git push --force origin <YOUR_FEATURE_BRANCH_NAME>
Use --force carefully, only when rebasing a branch that only you are working on.
Step 11: Celebrate!
Once your PR is approved and merged, congratulations! You've successfully contributed to an open source project. Your name might appear in the project's contributors list, and you'll have the satisfaction of knowing you've made a difference.
Beyond Your First PR
Your first contribution is just the beginning. To truly become a valuable member of an open source community:
- Stay Engaged: Keep an eye on the project, participate in discussions, and look for other issues to tackle.
- Review Other PRs: This is an excellent way to learn from others, understand different coding styles, and contribute without writing new code.
- Report Bugs: If you find an issue, report it clearly.
- Help Newcomers: Pay it forward by guiding new contributors, just as you were guided.
Benefits of Open Source Contribution (Revisited)
Contributing to open source offers immense benefits for developers, especially those looking to advance their careers in AI and tech:
- Skill Development: You'll learn to work with large codebases, understand best practices, and improve your coding, testing, and debugging skills. You'll also learn to use Git effectively in a collaborative environment.
- Networking: You'll connect with experienced developers, potential mentors, and future colleagues. Open source communities are vibrant professional networks.
- Portfolio Building: Your GitHub profile becomes a powerful resume, showcasing real-world contributions to real projects. This is highly valued by employers.
- Giving Back: You're helping build tools and technologies that benefit countless others, contributing to the collective knowledge and progress of the tech world.
- Exposure to AI/ML: For those interested in AI, contributing to open-source AI projects exposes you to cutting-edge algorithms, models, and infrastructure, providing invaluable practical experience beyond academic theory.
Conclusion
Contributing to open source projects might seem daunting at first, but with this guide, you have a clear roadmap. Remember that every major project started with small steps, and every contribution, no matter how minor, makes a difference. Embrace the learning process, engage with the community, and enjoy the rewarding experience of building something impactful together. Happy contributing!
Frequently Asked Questions
What if I'm not a strong coder? Can I still contribute to open source?
Absolutely! Open source contributions are not just about writing code. You can contribute by improving documentation, reporting bugs, suggesting features, helping with translations, or even providing design assets. Many projects welcome contributions in these areas, and they are excellent ways to get started and learn the ropes.
How do I pick a project that will actually respond to my contributions?
To pick a responsive project, look for signs of an active community. Check for recent commits, a healthy number of open issues that are being addressed, and active discussions on pull requests. A clear and well-maintained CONTRIBUTING.md file is also a strong indicator that the project welcomes and guides new contributors.
What is a "good first issue" and how do I find one?
A "good first issue" is a task specifically labeled by project maintainers as suitable for new contributors. These issues are typically simpler, well-defined, and require minimal project-specific knowledge. You can find them on GitHub by searching for the "good first issue" label in the issues section of a repository, or by visiting curated websites like goodfirstissue.dev.
What's the difference between "forking" and "cloning" a repository?
Forking creates a personal copy of the entire repository on your GitHub/GitLab account. This copy is independent of the original project. Cloning, on the other hand, downloads a copy of a repository (either the original or your fork) from GitHub/GitLab to your local machine. You typically fork a project first, and then clone your fork to your computer to start making changes.