Key Takeaways
- Autonomous AI agents are self-directed systems that perceive, reason, plan, and act to achieve complex goals with minimal human oversight.
- Building your first agent involves setting up your environment, choosing a framework like LangChain or CrewAI, defining its goal, and equipping it with tools and memory.
- Key components include a large language model (LLM) for reasoning, tools for interacting with the outside world, and memory to retain context across tasks.
- Deployment strategies range from local execution for testing to cloud-based solutions for production-grade, scalable agents.
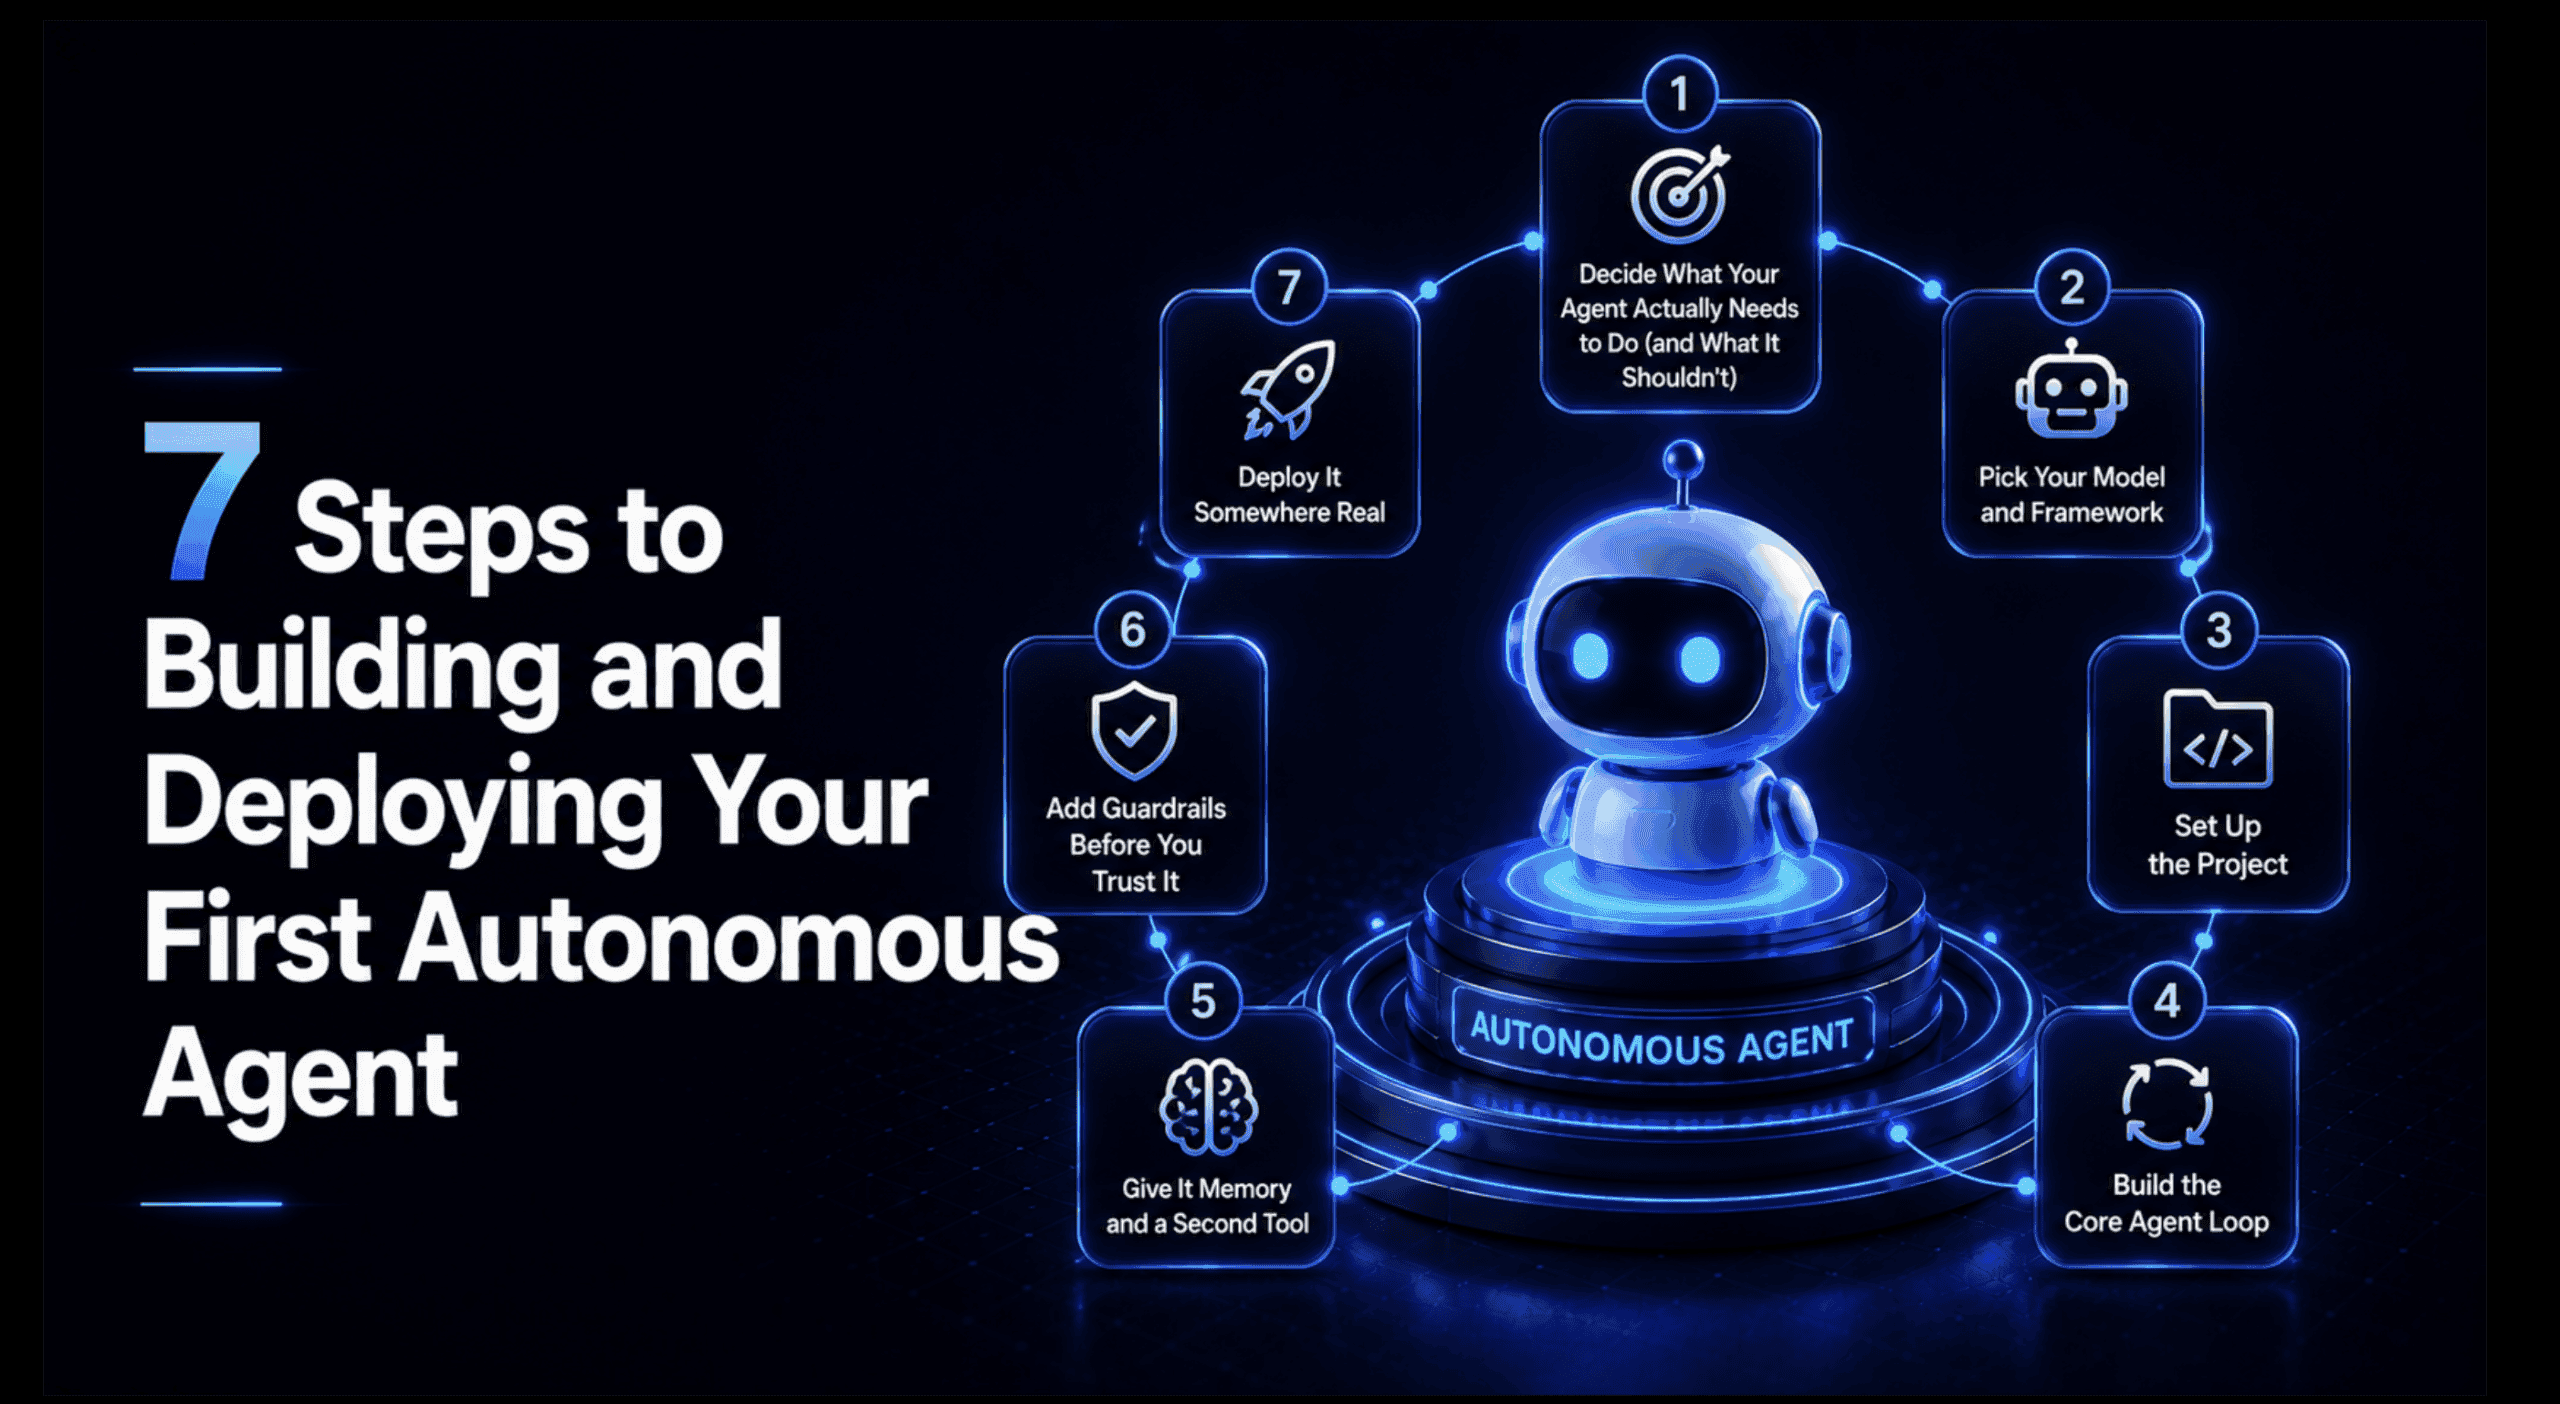
7 Steps to Building and Deploying Your First Autonomous Agent
The world of AI is moving fast, and one of the most exciting developments is the rise of autonomous AI agents. These aren't just chatbots that answer questions; they are sophisticated systems that can understand goals, make plans, use tools, and take action to achieve those goals with very little human help.
Imagine an AI that can not only research a topic but also summarize its findings, generate a report, and even email it to you – all on its own. That's the power of autonomous agents. They represent a big shift from AI that just helps with tasks to AI that can manage entire workflows.
If you're a software developer looking to dive into this cutting-edge field, this tutorial is for you. We'll walk through the essential steps to build and deploy your very first autonomous AI agent, turning theory into practice. We'll focus on practical steps, using popular open-source frameworks like LangChain and CrewAI to make it accessible.
What Exactly is an Autonomous AI Agent?
Before we jump into building, let's clarify what an autonomous AI agent is. At its core, an autonomous agent is a software system that can observe its environment, process information, make decisions, and take actions to achieve a specific objective without needing constant step-by-step instructions from a human.
Think of it like this: traditional software follows a strict set of rules. You tell it exactly what to do. An autonomous agent, however, is given a goal, and it figures out the steps itself. It can learn, adapt, and even recover from errors as it works towards that goal.
Key characteristics of these agents include:
- Perception: The ability to gather and interpret data from its environment (e.g., reading documents, accessing databases, using web search).
- Reasoning/Planning: Using a large language model (LLM) as its "brain" to understand the goal, break it down into smaller tasks, and create a plan.
- Memory: The capacity to remember past interactions, observations, and decisions, allowing it to maintain context and learn over time. This can include short-term memory (for the current task) and long-term memory (for broader knowledge).
- Tools/Actions: The ability to use external tools (like APIs, web browsers, code interpreters) to interact with the real world and execute its plans.
- Adaptation/Learning: The capacity to adjust its behavior and improve its performance based on new information or feedback.
Step 1: Set Up Your Development Environment
First things first, you need a solid foundation for your agent. Python is the language of choice for AI development, and setting up a virtual environment is crucial to manage your project's dependencies.
Install Python and a Virtual Environment
Make sure you have Python 3.9+ installed. Then, create and activate a virtual environment:
python -m venv agent_env
source agent_env/bin/activate  # On macOS/Linux
agent_env\Scripts\activate    # On Windows
Install Core Libraries
You'll need a few key libraries. We'll use LangChain as our primary framework for this tutorial, as it provides excellent tools for building agents. CrewAI is another popular option, especially for multi-agent systems.
pip install langchain langchain-openai python-dotenv
langchain-openai is for integrating with OpenAI models. If you prefer Google Gemini, you'd install langchain-google-genai instead. python-dotenv helps manage API keys securely.
Get Your API Keys
Autonomous agents rely on Large Language Models (LLMs). You'll need an API key for your chosen LLM provider (e.g., OpenAI, Google Gemini, Anthropic). For this tutorial, we'll assume you're using OpenAI. Create a .env file in your project root and add your API key:
OPENAI_API_KEY="your_openai_api_key_here"
Remember to keep your API keys secure and never commit them directly to version control.
Step 2: Define Your Agent's Goal and Role
Every autonomous agent needs a clear purpose. What problem will it solve? What information will it process? Defining this upfront is critical for guiding its development.
For our first agent, let's create a "Research Assistant Agent" that can search the web for information on a given topic and summarize it. This is a common and practical use case.
Step 3: Choose Your AI Agent Framework (LangChain)
Frameworks like LangChain simplify agent development significantly. LangChain provides the building blocks for creating agents, including tools, memory, and orchestration.
LangChain's agent architecture often follows the ReAct (Reasoning + Acting) pattern, where the LLM reasons about the task, decides which tools to use, executes them, and then continues reasoning until the task is done.
Step 4: Equip Your Agent with Tools
Tools are how your agent interacts with the outside world. Without them, an LLM can only generate text based on its training data. With tools, it can perform actions like searching the internet, running code, or interacting with APIs.
Example: Web Search Tool
For our Research Assistant, a web search tool is essential. We'll use the duckduckgo-search library for simplicity, but you could integrate with Google Search API, Brave Search, or others.
pip install duckduckgo-search
Now, let's define the tool in Python:
from langchain_community.tools import DuckDuckGoSearchRun
from langchain.agents import AgentExecutor, create_react_agent
from langchain_core.prompts import PromptTemplate
from langchain_openai import ChatOpenAI
from dotenv import load_dotenv
import os

load_dotenv() # Load environment variables from .env file

# 1. Define the tools
search = DuckDuckGoSearchRun()
tools = [search]

# 2. Configure the LLM
llm = ChatOpenAI(model="gpt-4o", temperature=0) # Using a powerful model for better reasoning

# 3. Define the agent prompt
template = """
You are a helpful research assistant. Your goal is to find accurate and up-to-date information on any given topic.
You have access to the following tools:

{tools}

To use a tool, use the following format: