Key Takeaways
- NVIDIA Warp is an open-source Python framework that compiles Python functions into high-performance GPU (and CPU) kernels for accelerated simulation, AI, and robotics.
- MjWarp is a GPU-optimized implementation of the MuJoCo physics simulator, co-developed by NVIDIA and Google DeepMind, that uses NVIDIA Warp to achieve high-throughput parallel simulations.
- This combination is ideal for robotics researchers and developers needing to run large numbers of simulations, particularly for reinforcement learning, due to its focus on throughput over single-step latency.
- NVIDIA Warp is open-source under the Apache 2.0 license, and MjWarp is also open-source under Apache 2.0, meaning there are no direct costs for using the core frameworks.
Accelerate Your Robotics: A Step-by-Step Guide to NVIDIA Warp and MjWarp
Robotics simulation and learning workflows often hit a wall when it comes to speed. Training complex robot policies or running extensive simulations for research can take a very long time on traditional setups. This is where NVIDIA Warp and MjWarp come in. These powerful tools offer a way to significantly speed up your robotics projects by leveraging the power of NVIDIA GPUs.
This tutorial will walk you through what NVIDIA Warp and MjWarp are, why they're important, and how to get them set up and running to accelerate your robotics simulations. We'll focus on providing clear, actionable steps for software developers looking to boost their AI and robotics work.
What are NVIDIA Warp and MjWarp?
NVIDIA Warp: The GPU Acceleration Backbone
NVIDIA Warp is an open-source Python framework designed for creating high-performance simulation and AI workloads. It allows developers to write Python functions that are just-in-time (JIT) compiled into efficient kernel code, which can then run on NVIDIA GPUs or CPUs. This means you can write your code in Python, benefiting from its ease of use, while getting performance close to native CUDA C++ code.
Warp is particularly useful for tasks that involve:
- GPU-accelerated physics simulation: It provides primitives and a programming model optimized for computational physics, fluid dynamics, and geometry processing.
- Differentiable programming: A key feature is its native support for automatic differentiation. This allows you to build "differentiable simulators" that can be integrated into machine learning pipelines (e.g., with PyTorch or JAX) for training neural networks, optimizing designs, or estimating parameters.
- High-performance data structures: Warp includes optimized data structures like triangle meshes, sparse volumes (NanoVDB), and spatial acceleration structures (hash grids, BVHs) for complex geometric queries.
NVIDIA Warp was first released as a research prototype in 2020 (then called dFlex), generalized and renamed in 2021, and open-sourced at GTC 2024 with version 1.0. It has seen rapid adoption, reaching millions of downloads per month by August 2026. It is licensed under Apache 2.0.
MjWarp: MuJoCo on Steroids
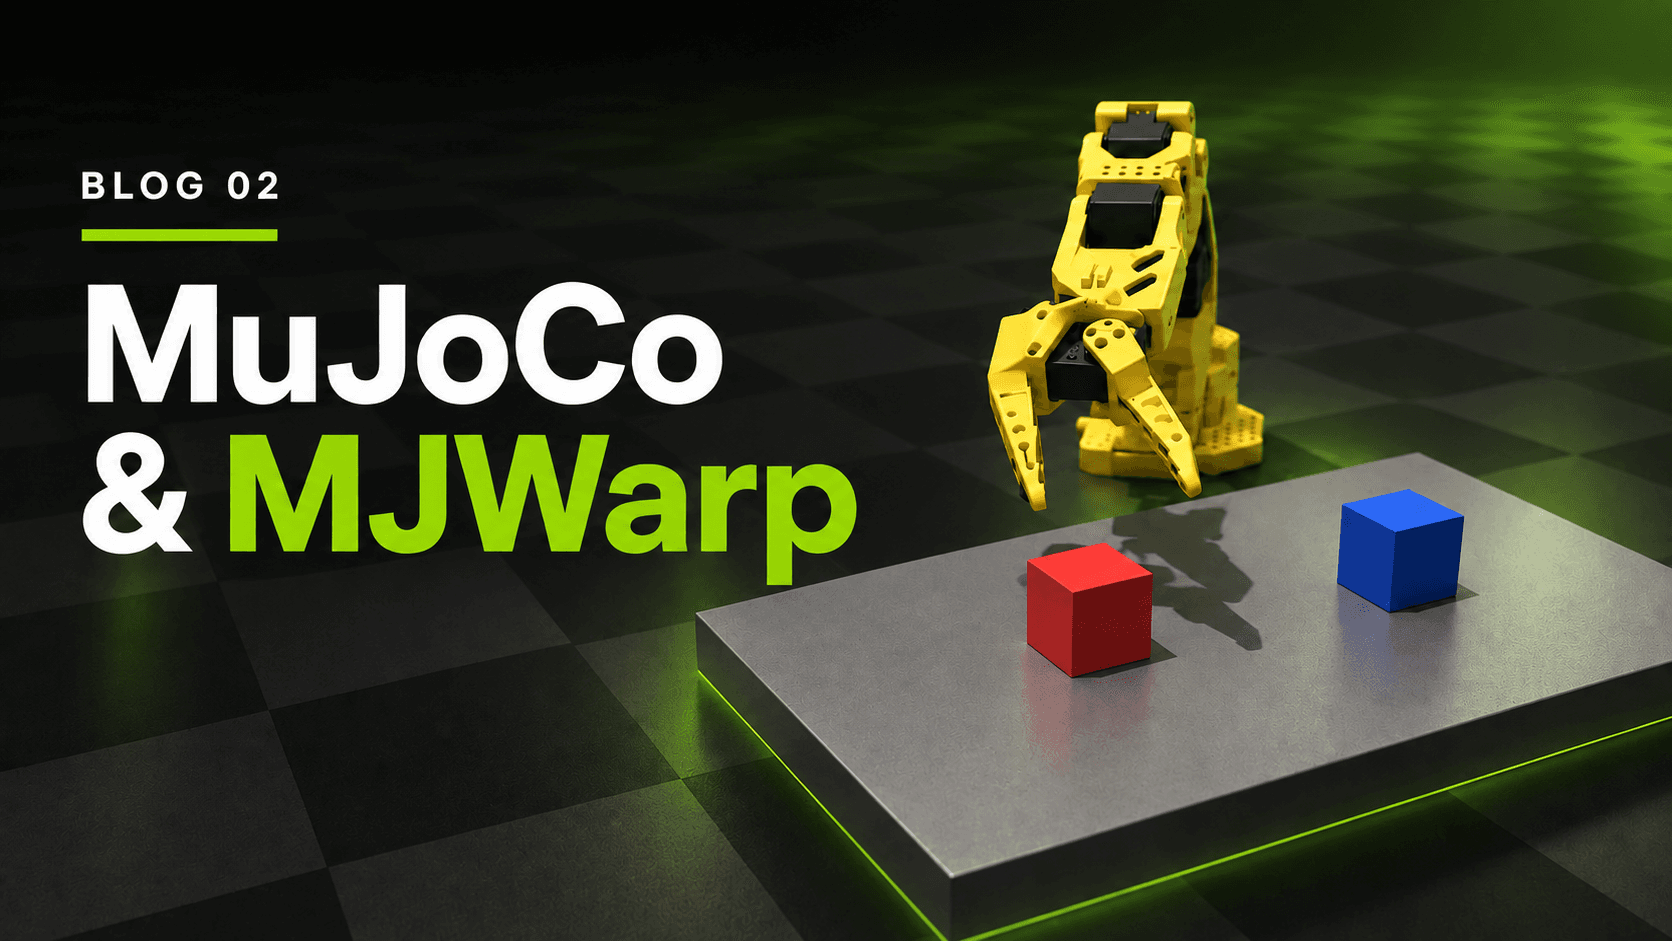
MuJoCo Warp, or MjWarp, is an implementation of the popular MuJoCo physics simulator specifically written in NVIDIA Warp. This project is a collaborative effort between NVIDIA and Google DeepMind, designed to optimize MuJoCo for NVIDIA hardware and parallel simulation.
The main goal of MjWarp is to provide high-throughput, accurate simulation for robotics research. While standard MuJoCo focuses on low-latency single-step simulation, MjWarp is optimized for throughput – the total number of simulation steps per unit time. This makes it incredibly well-suited for applications that require a large number of samples, such as reinforcement learning for robotics.
MjWarp supports most of MuJoCo's main simulation features, with some exceptions, and is currently in beta. It also includes a high-throughput GPU batch renderer for simultaneous rendering across many parallel simulation worlds.
MjWarp is part of the broader google-deepmind/mujoco_warp GitHub repository and is also open-source under the Apache 2.0 license.
Why Use NVIDIA Warp and MjWarp for Robotics?
The combination of NVIDIA Warp and MjWarp offers significant advantages for robotics developers and researchers:
- Massive Parallelism: Robotics learning often requires running thousands or even millions of simulations to train a robot. MjWarp, built on Warp, can run many simulations in parallel on a single GPU, dramatically reducing training times.
- GPU Acceleration: By moving physics calculations to the GPU, Warp and MjWarp bypass CPU bottlenecks, delivering performance on par with native CUDA code.
- Differentiable Physics: Warp's automatic differentiation capabilities mean you can optimize robot designs or learn control policies directly through simulation gradients, which is much more efficient than trial-and-error methods.
- Python Productivity: You get the performance of low-level GPU programming without leaving the familiar and productive Python environment.
- Integration with ML Frameworks: Warp is designed to interoperate seamlessly with popular machine learning frameworks like PyTorch and JAX, making it easy to build end-to-end learning pipelines.
Tutorial: Accelerating Robotics Simulation with NVIDIA Warp and MjWarp
This tutorial assumes you have a basic understanding of Python and robotics simulation concepts. You'll need an NVIDIA GPU with a compatible driver for optimal performance. While MjWarp supports CPU for development and debugging, its primary benefit comes from GPU acceleration.
Step 1: System Requirements and Setup
Before you begin, ensure your system meets the necessary requirements:
- NVIDIA GPU: A modern NVIDIA GPU (Turing-class or newer, compute capability 7.5+) is recommended for Warp's CUDA 13 builds.
- NVIDIA Drivers: Ensure you have the latest NVIDIA drivers installed (R580-series or newer for CUDA 13 support).
- Python: Warp requires Python 3.10 or newer.
- Virtual Environment: It's always a good practice to use a virtual environment to manage your project dependencies.
Let's create and activate a virtual environment:
python3 -m venv mjwarp_env
source mjwarp_env/bin/activate
Step 2: Install NVIDIA Warp and MjWarp
Both Warp and MjWarp are available via PyPI. You can install them using pip. MjWarp also requires MuJoCo itself.
pip install --upgrade pip
pip install warp-lang mujoco mujoco-warp
The warp-lang package installs NVIDIA Warp. The mujoco-warp package installs MjWarp, which is maintained by Google DeepMind and NVIDIA.
To verify the installation, you can try importing the libraries:
import warp as wp
import mujoco
import mujoco_warp as mjw

print(f"NVIDIA Warp version: {wp.__version__}")
print(f"MuJoCo version: {mujoco.__version__}")
print(f"MjWarp version: {mjw.__version__}")
If you encounter issues, especially with CUDA, refer to the NVIDIA Warp documentation for detailed installation instructions and compatibility notes. For MjWarp, consult the MjWarp GitHub repository.
Step 3: Basic MjWarp Usage – Simulating Multiple Worlds
One of MjWarp's core strengths is its ability to run many simulations in parallel. Let's look at a simple example, adapted from official MjWarp tutorials, to simulate a simple ball falling under gravity in multiple "worlds" simultaneously.
First, define a simple MuJoCo XML model (e.g., a sphere with a free joint):
_MJCF = r"""
<mujoco>
  <worldbody>
    <body>
      <freejoint/>
      <geom size=".15" mass="1" type="sphere"/>
    </body>
  </worldbody>
</mujoco>
"""
Now, let's write the Python code to use MjWarp:
import mujoco
import mujoco_warp as mjw
import warp as wp
import numpy as np

# Define your MuJoCo XML model
_MJCF = r"""
<mujoco>
  <worldbody>
    <body>
      <freejoint/>
      <geom size=".15" mass="1" type="sphere"/>
    </body>
  </worldbody>
</mujoco>
"""

# Load the MuJoCo model
mjm = mujoco.MjModel.from_xml_string(_MJCF)

# Set the number of parallel worlds for simulation
num_worlds = 1000

# Copy the MuJoCo model to the GPU for MjWarp
# This creates an mjw.Model object
m = mjw.put_model(mjm)

# Create MjWarp data for multiple worlds
# This creates an mjw.Data object with 'num_worlds' parallel simulation states
d = mjw.make_data(mjm, nworld=num_worlds)

# Initialize velocities for each ball in each world
# For example, give each ball a slightly different initial upward velocity
initial_qvel = np.zeros((num_worlds, mjm.nv), dtype=np.float32)
# Assuming a freejoint has 6 degrees of freedom (3 translational, 3 rotational)
# Let's give them varying initial upward (z-axis) velocities
for i in range(num_worlds):
    initial_qvel[i, 2] = 1.0 + (i / num_worlds)  5.0 # Varying initial z-velocity

# Copy initial velocities to the MjWarp data object on the device
wp.copy(d.qvel, wp.array(initial_qvel, dtype=wp.float32))

# Simulate physics for a few steps
num_steps = 100
for i in range(num_steps):
    mjw.step(m, d)

# Get the final positions (qpos) from the GPU back to NumPy
final_qpos = d.qpos.numpy()

print(f"Simulation completed for {num_worlds} worlds over {num_steps} steps.")
print("First 5 final qpos states (x, y, z, orientation_w, x, y):")
print(final_qpos[:5, :])
Explanation of the code:
mjm = mujoco.MjModel.from_xml_string(_MJCF): Loads your standard MuJoCo model.m = mjw.put_model(mjm): This is a crucial step. It takes your MuJoCo model and copies its necessary data structures to the GPU, creating anmjw.Modelobject optimized for Warp.d = mjw.make_data(mjm, nworld=num_worlds): Similarly, this prepares the simulation data (like joint positions, velocities, forces) fornum_worldsparallel simulations on the GPU, creating anmjw.Dataobject.wp.copy(d.qvel, wp.array(initial_qvel, dtype=wp.float32)): You initialize data on the host (CPU with NumPy) and then usewp.copyto transfer it to the Warp array (d.qvel) on the GPU. It's important to use Warp's data types (e.g.,wp.float32).mjw.step(m, d): This is the core simulation call. It advances allnum_worldssimulations by one timestep on the GPU. This function is highly optimized for parallel execution.final_qpos = d.qpos.numpy(): After simulation, you can retrieve the results from the GPU back to a NumPy array on the CPU for analysis or further processing.
Step 4: Integrating with Machine Learning Workflows (Conceptual)
While a full reinforcement learning setup is beyond a simple tutorial, understanding how Warp and MjWarp fit into an ML pipeline is important. The key is Warp's differentiability.
Imagine you're training a neural network to control a robot. Normally, you'd simulate an action, get a new state, and calculate a reward. With differentiable physics:
- Your robot's dynamics (forward simulation) are defined using Warp kernels.
- When your neural network outputs an action, the simulation runs.
- Warp can automatically compute the gradients of the simulation output (e.g., the robot's final position or a reward signal) with respect to the input actions or even the physical parameters of the robot.
- These gradients can then be directly used by ML frameworks like PyTorch or JAX to update your neural network's weights or optimize robot parameters, making the learning process much more efficient.
Warp provides interoperability layers for PyTorch and JAX, allowing you to pass Warp arrays directly into these frameworks and back.
For example, a simplified (non-executable) conceptual snippet:
import torch # or jax
import warp as wp
import mujoco_warp as mjw

# ... (setup mjm, m, d as before) ...

# Assume 'policy_network' is a PyTorch model
# Assume 'actions_tensor' are actions generated by the policy (PyTorch tensor)

# Convert PyTorch tensor to Warp array
actions_warp = wp.from_torch(actions_tensor)

# Apply actions to the MjWarp data (conceptually, setting joint torques or forces)
# This would involve writing a custom Warp kernel or using MjWarp's API
# For simplicity, let's assume d.ctrl takes the actions
wp.copy(d.ctrl, actions_warp)

# Simulate one step (differentiable if kernels are designed for it)
with wp.Tape() as tape: # For automatic differentiation
    mjw.step(m, d)
    # Define a loss based on d.qpos (e.g., distance to a target)
    # loss = wp.sum((d.qpos - target_qpos)*2)
    # Or, if a reward is computed in a Warp kernel, you can differentiate through it

# Compute gradients
# If using a loss, loss.backward() would trigger gradient computation through the Warp tape
# gradients = tape.gradients(loss, actions_warp) # Conceptual for Warp

# Convert gradients back to PyTorch tensor for network update
# gradients_torch = wp.to_torch(gradients)
# policy_network.optimizer.step(gradients_torch)
The wp.Tape() context manager is how Warp tracks operations for automatic differentiation.
Step 5: Advanced Features and Further Exploration
- Batch Rendering: MjWarp includes a high-throughput GPU batch renderer that uses ray-tracing to render MuJoCo scenes at millions of frames per second. This is incredibly useful for vision-based robot learning where you need to generate many diverse images.
- Custom Warp Kernels: For highly specialized physics or control logic, you can write your own custom Warp kernels directly in Python. These functions, decorated with
@wp.kernel, are JIT-compiled for the GPU, giving you fine-grained control and maximum performance. - Integration with Isaac Lab and Newton: MjWarp integrates with NVIDIA's broader robotics ecosystem, including Isaac Lab and the Newton project, which provide more comprehensive frameworks for robotics research and multi-physics simulation.
- Performance Tuning: MjWarp's documentation provides tips for optimizing performance, such as using graph capture for common functions like
mjw.step.
For more detailed examples and advanced topics, explore the official documentation:
Pricing and Licensing
Both NVIDIA Warp and MjWarp are open-source projects.
- NVIDIA Warp: It is provided under the Apache License, Version 2.0. This means you can use, modify, and distribute it freely for personal and commercial projects.
- MjWarp: Also released under the Apache 2.0 license.
There are no direct costs associated with using the core Warp or MjWarp frameworks. However, you will need compatible NVIDIA GPU hardware. While there are other products named "Warp" with subscription models (e.g., for AI features in a terminal or enterprise licensing for other NVIDIA software), these are distinct from the NVIDIA Warp Python framework for simulation.
Conclusion
NVIDIA Warp and MjWarp offer a compelling solution for robotics developers and researchers facing the computational demands of modern AI-driven robotics. By enabling high-performance, GPU-accelerated, and differentiable simulations directly within Python, they streamline the process of training complex robot policies and exploring new designs. Getting started is straightforward, and the open-source nature of these tools makes them accessible to everyone looking to push the boundaries of robotics.
Frequently Asked Questions
What is the main difference between NVIDIA Warp and MjWarp?
NVIDIA Warp is a general-purpose Python framework for writing high-performance, GPU-accelerated code for simulation, AI, and machine learning. MjWarp, on the other hand, is a specific implementation of the popular MuJoCo physics simulator that has been re-written using NVIDIA Warp to take advantage of GPU acceleration and parallel simulation for robotics.
Do I need an NVIDIA GPU to use Warp and MjWarp?
While NVIDIA Warp can run on CPUs, its primary benefit and the reason for its existence is GPU acceleration. MjWarp is specifically optimized for NVIDIA GPUs, and while it supports CPU execution for development and debugging, fast and high-throughput simulations require an NVIDIA GPU.
Is NVIDIA Warp or MjWarp free to use?
Yes, both NVIDIA Warp and MjWarp are open-source projects released under the Apache License, Version 2.0. This means the core frameworks can be used, modified, and distributed freely for both personal and commercial purposes without direct licensing costs.
What kind of robotics projects benefit most from MjWarp?
MjWarp is particularly well-suited for robotics applications that require a large number of simulation samples, such as reinforcement learning for training robot policies. Its optimization for throughput (total simulation steps per unit time) makes it ideal for these data-intensive learning workflows, rather than real-time applications requiring low single-step latency like online control or interactive interfaces.